
How to Throw a Baseball Faster: Mechanics, Strength and Recovery
Develop throwing speed with repeatable mechanics, whole-body strength and gradual practice, while respecting command, recovery and youth workload limits.
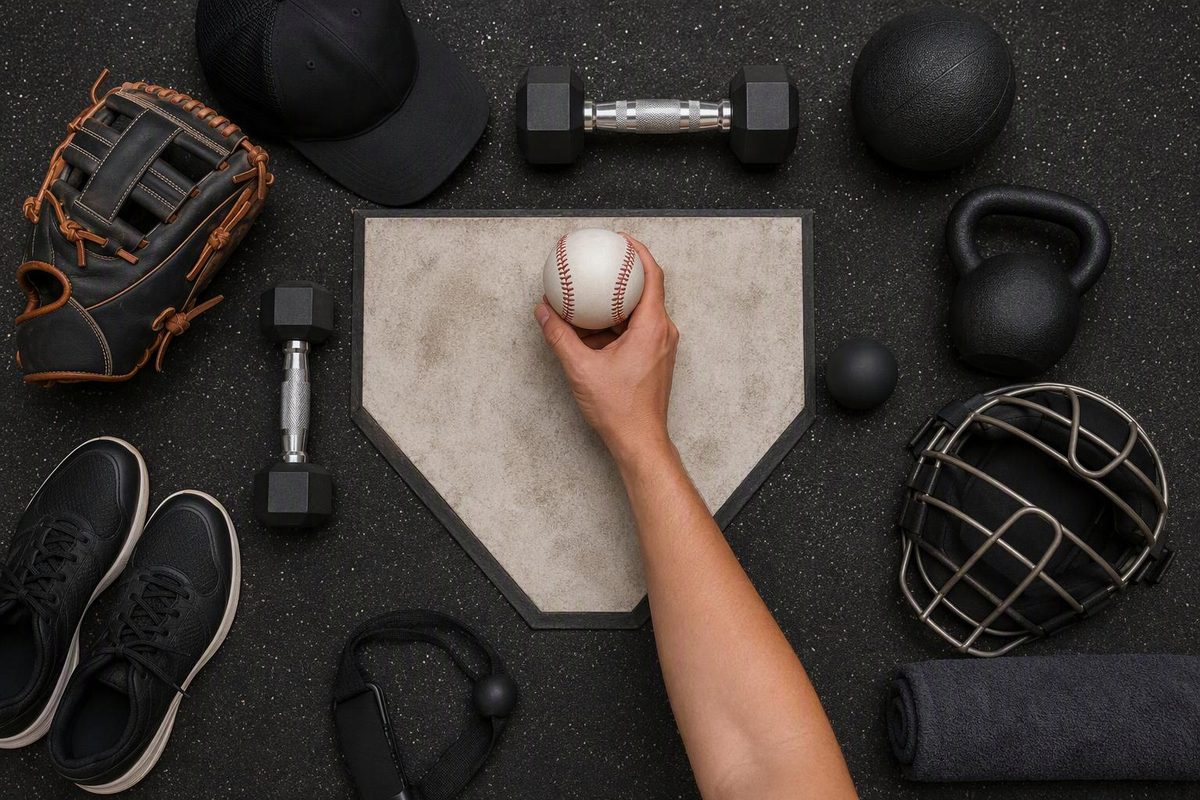
To throw a baseball faster, work on a coordinated whole-body delivery, build strength appropriate to your training experience, and practice within a workload you can recover from. Simply trying harder with your arm is not a development plan. Throwing transfers energy from the lower body to the upper body—the sequence often called the kinetic chain. This sports-medicine review explains that whole-body process.
Start with throws you can repeat and locate. No grip, drill or workout can promise a particular mph gain or deadline.
Set the age and workload limits first
For pitchers ages 9–12, MLB/USA Baseball Pitch Smart emphasizes athleticism, fitness and fun, along with fastballs and changeups. A younger pitcher should not copy a high-school or college velocity program. Older beginners also need a foundation before adding demanding throwing work.
As of October 2026, Pitch Smart lists these daily game-pitch ceilings, not training targets:
| Age | Maximum game pitches per day |
|---|---|
| 9–10 | 75 |
| 11–12 | 85 |
| 13–14 | 95 |
Required rest begins well below those ceilings: for these ages, 21–35 game pitches require one day of rest; 36–50 require two. Both age groups are advised to take at least four months off throwing annually, with two to three months continuous. Check the full ages 9–12 guidance or ages 13–14 guidance, plus your league’s rules, before scheduling another pitching session.
Keep one shared throwing log across coaches and teams. Record games, bullpens, catch play and other throwing separately; game-pitch tables do not provide an allowance for unlimited practice throws.
Stop throwing with shoulder or elbow pain and get a sports-medicine evaluation. Fatigue also calls for rest, not extra repetitions. ASMI identifies falling velocity or accuracy, a dropped elbow and longer pauses between pitches as possible fatigue signs in its adolescent pitching recommendations.
Make the delivery repeatable before making it faster
Use a comfortable four-seam grip: index and middle fingers across the broad seams, thumb underneath, with the ball held securely rather than crushed into the palm. Adjust finger spacing to fit your hand. See the four-seam grip guide for placement details. MLB’s grip explanation describes placing two fingers across the horizontally oriented horseshoe, contacting both sides of its seams.
Then work on one observable cue at a time:
- Direction: For a basic catch-play throw, begin turned sideways to your partner, with the glove-side shoulder facing the target. Step toward the target rather than reaching awkwardly across your body.
- Rhythm: Let the step, body turn and throw flow together. Do not manufacture a long pause or rush the arm to catch up.
- Finish: Allow the arm and back leg to continue naturally after release. Do not abruptly stop the arm or force a dramatic finish.
The USA Baseball pitching drill collection hosted by Mountain Recreation uses step-and-throw work, weight transfer, target accuracy and smooth follow-through as practice tasks. These are useful coaching checkpoints—not proof that a particular motion prevents injury or adds velocity.
Have a coach watch a few comfortable throws from the side and behind, outside the throwing lane. Ask for one correction you can see or feel. Avoid copying a professional’s exact stride length or forcing an elbow height. For a fuller progression, use our ground-up throwing mechanics guide.
Use catch play to rehearse the sequence
Try this short rehearsal inside an already scheduled throwing session, not as extra work after a game or on a prescribed rest day. It is a technique task, not a velocity test or a prescribed training dose.
Setup: Use a regulation baseball, gloves, clear space and a capable partner. Complete your whole-body warm-up and gradual easy throwing. Choose a distance you can reach comfortably without straining.
- Make five easy step-and-throws. Start facing your partner, turn sideways as you step, then throw toward the glove. Use only the cue “step toward the target.”
- Make five throws with your normal delivery. Keep the same comfortable effort. Focus on carrying that rhythm into the full motion.
- Check the result. Count how many your partner catches without moving their feet. Note whether the motion felt continuous or rushed.
Keep these throws within the coach’s planned total. Do not add repetitions to repair the score. If accuracy or rhythm deteriorates, pause and check for fatigue; stop throwing if you feel or look fatigued. Improved command does not prove a velocity gain, but it gives you a repeatable task to build on.
Progress across practices, not by adding throws today. When comfortable throws are repeatable and recovery is normal, discuss slightly firmer throws with your coach while keeping the same target and cue. Do not increase effort, distance and total throws together. If the firmer motion becomes rushed or hard to locate, return to technique work rather than chasing a radar reading. This is a coaching progression, not a guarantee of injury safety or added speed.
Build strength beyond the throwing arm
Train the whole athlete, not just the shoulder. A beginner’s supervised routine can include a squat, hip hinge, split squat, row, push-up variation and trunk-control exercise. Learn each movement with body weight or light resistance before adding load; choose variations you can perform without pain or losing form.
The American Academy of Pediatrics supports youth resistance training with proper technique and supervision, and stresses that exercise experience matters—not just chronological age. That is guidance for general development, not a promise of faster pitches. Read the AAP’s resistance-training guidance. Our baseball workout plan provides a two-day framework to discuss with your coach.
Do not add weighted-ball throwing as a shortcut. A review of the evidence reports velocity gains in some programs, but methods vary and injury safety remains uncertain. In one randomized trial involving pitchers ages 13–18, a six-week program using balls from 2 to 32 ounces increased velocity, but elbow injuries occurred in the training group and none occurred in the control group. That finding does not establish the risk of every weighted-ball program. It does give developing pitchers a reason not to improvise one.
Measure development, not one best throw
For youth and adolescent pitchers, keep the radar gun out of routine practice—ASMI specifically recommends avoiding it. Track target accuracy, a repeatable delivery and how the arm feels during and after throwing instead.
If an adult amateur’s coach uses radar, compare scheduled assessments under consistent conditions: the same device, placement, ball and delivery. Record several throws and their locations rather than celebrating one peak reading. Do not add maximum-effort throws just to collect data.
For your next practice, choose one task: a comfortable grip, better direction or smoother rhythm. Let the coach decide when that foundation is ready for more demanding throwing.