
A Two-Day Baseball Workout Plan That Fits Around Throwing
Build legs, trunk control, speed and upper-body strength with a two-day baseball workout plan that leaves room for throwing and recovery.
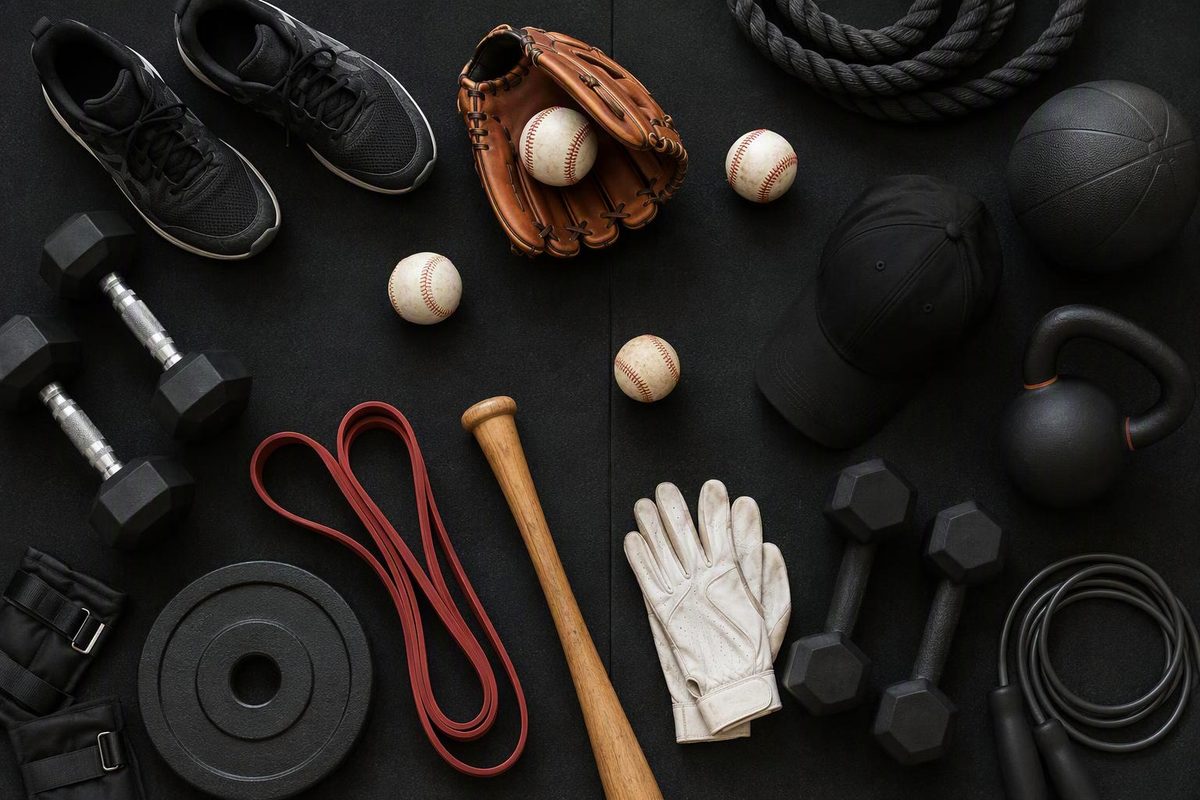
A useful baseball workout plan builds the whole athlete without turning every day into an arm day. For a healthy youth or amateur player, two full-body strength sessions on nonconsecutive days are a practical starting point. Fit them around games, bullpens and recovery—not the other way around.
This plan is for general training, not injury rehabilitation. A qualified adult should supervise youth lifting and adjust exercises for the player’s age, experience and equipment. The National Strength and Conditioning Association recommends qualified supervision, light initial loads, correct technique and two or three sessions on nonconsecutive days. Its general youth guidelines use 1–3 sets of 6–15 repetitions for strength exercises (NSCA position statement).
Weekly structure
Use this as a template, then move sessions when the game schedule changes:
| Day | Main work |
|---|---|
| Monday | Workout A; optional easy catch if the throwing plan permits |
| Tuesday | Baseball practice or planned throwing |
| Wednesday | Mobility, easy activity or complete rest |
| Thursday | Workout B; optional easy catch if the throwing plan permits |
| Friday | Short baseball practice; no added hard conditioning |
| Saturday | Game or primary throwing day |
| Sunday | Recovery or complete rest |
Preserve three priorities:
- Leave at least one day between full-body strength sessions.
- Do not introduce a demanding workout immediately before a game.
- Count throwing as training workload, not as a warm-up that can be added without a plan.
Pitching restrictions govern the throwing entries in this schedule. Pitch Smart’s age-based recommendations list game-pitch maximums from 50 pitches for ages 7–8 to 105 for ages 17–18, with rest based on age and pitches thrown (MLB Pitch Smart chart). These are ceilings, not targets, and the player’s league may have different or stricter rules. Throws from fielding, catching, lessons and other teams may not appear in an official pitch count, but they still add to overall arm workload.
Warm up for 8–10 minutes
Start both workouts with:
- Easy jog, skip or jump rope: 2 minutes
- Forward and lateral lunges: 5 each direction per side
- Bodyweight squat: 8 reps
- Glute bridge: 8 reps with a one-second pause at the top
- Wall slide: 8 controlled reps
- Two accelerations: 10–15 yards, gradually building speed
Checkpoint: The player should feel warmer and move more freely, not feel tired. For a longer field progression, use this baseball warm-up.
Workout A: Squat, push and pull
Begin with two sets. Add a third set only after the player can maintain every checkpoint. Rest about 60–90 seconds between strength sets and longer when needed to keep the jumps sharp.
| Exercise | Sets × reps | Checkpoint |
|---|---|---|
| Countermovement jump | 2 × 3 | Land quietly with knees following the toes; stop if jump height drops |
| Goblet squat | 2–3 × 8 | Whole foot stays down; torso and weight rise together |
| Push-up or elevated push-up | 2–3 × 6–12 | Body stays straight; chest reaches the same depth each rep |
| One-arm dumbbell or band row | 2–3 × 8–12 per side | Shoulder stays away from the ear; torso does not twist |
| Reverse lunge | 2 × 6–8 per side | Front foot stays planted; push the floor away to stand |
| Dead bug | 2 × 5 per side | Lower back stays gently against the floor as the limbs move |
| Suitcase carry | 2 × 15–25 yards per side | Walk tall without leaning toward or away from the weight |
A dumbbell is optional. A backpack held at the chest can load the squat, and a properly anchored resistance band can replace the row. Inspect bands and anchor points before each session.
Workout B: Hinge, single-leg strength and trunk control
| Exercise | Sets × reps | Checkpoint |
|---|---|---|
| Broad jump | 2 × 3 | Hold each landing for two seconds; reset before the next jump |
| Dumbbell or backpack Romanian deadlift | 2–3 × 8 | Hips travel backward; back position stays steady |
| Split squat | 2–3 × 6–8 per side | Lower under control; front knee follows the toes |
| Incline push-up | 2–3 × 8–12 | Choose a height that prevents sagging and straining |
| Band row or chest-supported dumbbell row | 2–3 × 10 | Finish with elbows near the ribs and shoulders down |
| Single-leg glute bridge | 2 × 6–8 per side | Hips remain level through the rep |
| Side plank | 2 × 15–30 seconds per side | Head, ribs and hips form one line |
| Calf raise | 2 × 12 | Rise and lower under control without the ankle rolling outward |
For substitutions, choose a comparable movement from this guide to baseball exercises. Change only one exercise at a time so the cause of unusual soreness or poorer technique remains easier to identify.
Choose weight and progress
Start lighter than the player expects. End each set while another two or three clean repetitions appear possible. Do not grind to failure or test a maximum lift.
Use this four-week progression:
- Week 1: Two sets per strength exercise. Learn the positions and record the load or variation.
- Week 2: Keep the load and add one repetition where every checkpoint was met.
- Week 3: Add a third set to the first one or two strength movements, or make a small load increase—not both.
- Week 4: Return to two sets and keep the effort comfortable, especially during a busy game week.
Increase resistance only when all prescribed repetitions look alike. The NSCA guideline suggests gradual increases of 5–10% as strength improves, but the smallest available increase is enough. Return to the previous load if added weight changes the movement.
Preteens can perform these movements with body weight, a light backpack or another easily controlled load. Older, experienced players may use barbells when a qualified coach can teach and supervise them. Readiness depends on following instructions and controlling the load, not age alone.
Add short sprints only when the schedule allows
If team practices and games do not already provide enough running, add short accelerations once or twice per week. After the warm-up and before strength work, run four to six sprints of 10–20 yards. Walk back, recover fully and stop when acceleration or posture declines.
Do not add sprints after a long game simply to “finish” the workout. Running, lifting, practice and throwing all compete for recovery.
Keep throwing on its own plan
This workout does not prescribe bullpens or maximum-effort throws. Coordinate those with the player, parent and coach under an age-appropriate throwing plan. For ages 9–12, Pitch Smart recommends following its pitch-count rest schedule, avoiding simultaneous play for multiple teams and taking at least four months away from throwing each year, including two to three continuous months (Pitch Smart ages 9–12). A return after time off should be gradual; see this offseason throwing-break guide.
Stop training for pain, numbness, dizziness or a sudden loss of normal movement, and tell a parent, coach or other responsible adult. Do not alter throwing mechanics to work around pain. The American Academy of Orthopaedic Surgeons says adults should take a young pitcher’s arm or shoulder pain seriously and seek medical care when it does not go away or returns whenever pitching resumes (AAOS injury-prevention guidance).
After each session, record the exercises, sets and reps, throwing completed that day, and any pain or unusual fatigue. That short log helps the player and supervising adults adjust the next session before poor recovery becomes a pattern.