
A Baseball Arm Care Program Built Around Throwing and Rest
Build a youth pitcher's arm care routine with warm-up steps, simple strength exercises, pitch-count guidance, recovery habits and clear stop rules.
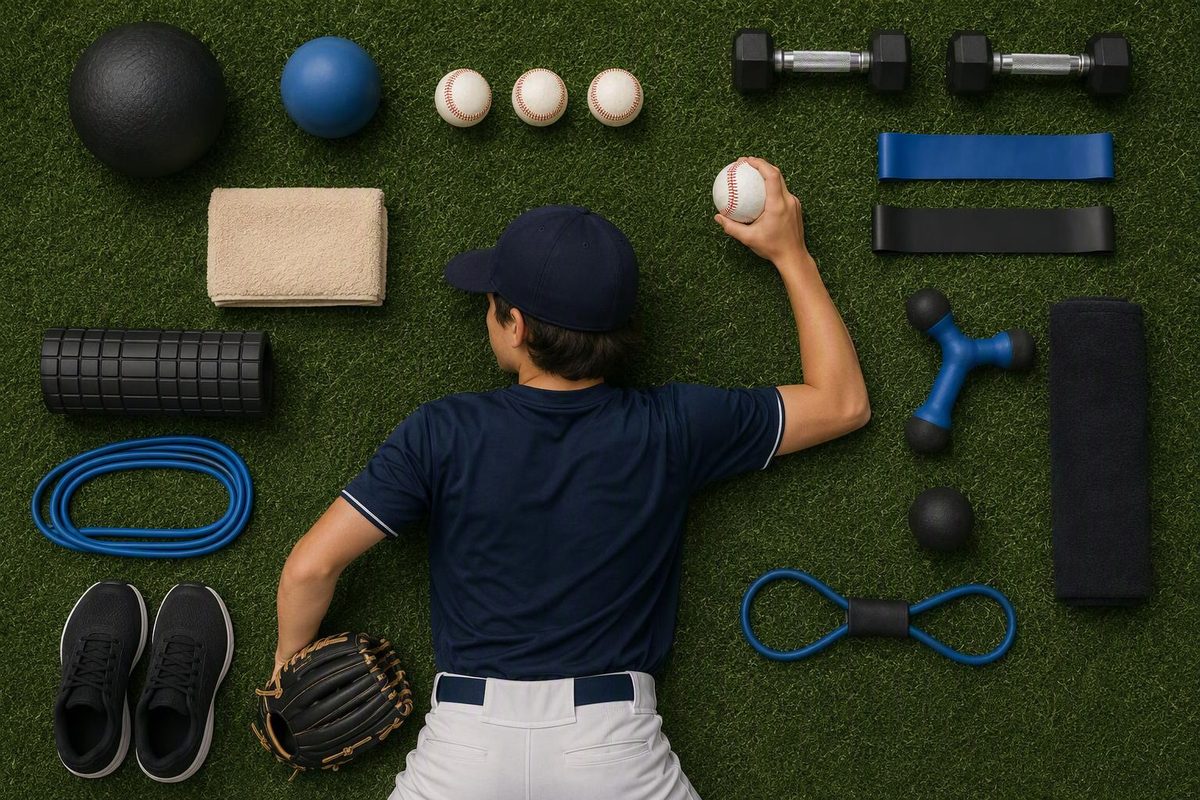
A useful baseball arm care program combines managed throwing, a gradual warm-up, strength work and recovery. Bands are one tool—not permission to throw more. Sports-medicine guidance links excessive competitive pitching and pitching while fatigued to arm injury. American Sports Medicine Institute
This framework is for healthy pitchers ages 9–14, with a parent or coach supervising. It is not rehabilitation or a return-to-throwing plan after injury. Older amateur pitchers should use their own age-specific workload guidance and an appropriately supervised strength plan.
1. Plan the throwing workload first
Keep one shared record across school, travel and private instruction. Record game pitches separately from bullpen pitches, warm-up throws, catch play and position work. Include approximate effort—easy, moderate or hard—so a day with no game pitches does not look like a day without throwing.
Use the league’s rules alongside MLB/USA Baseball Pitch Smart recommendations; follow the stricter restriction where they differ. As of October 2026, Pitch Smart lists these game-pitch limits:
| Age | Daily game maximum | No rest days | 1 rest day | 2 rest days | 3 rest days | 4 rest days |
|---|---|---|---|---|---|---|
| 9–10 | 75 | 1–20 | 21–35 | 36–50 | 51–65 | 66–75 |
| 11–12 | 85 | 1–20 | 21–35 | 36–50 | 51–65 | 66–85 |
| 13–14 | 95 | 1–20 | 21–35 | 36–50 | 51–65 | 66–95 |
These are limits, not session targets. For example, 40 game pitches place a 12-year-old in the two-rest-day category. Completing an exercise routine does not shorten that interval. See the official Pitch Smart chart for other ages.
For ages 9–14, Pitch Smart also advises against pitching in multiple games on one day, pitching on three consecutive days regardless of count, overlapping teams and catching while not pitching. Ages 9–12 guidance; ages 13–14 guidance
Checkpoint: Before practice begins, the coach should know what the pitcher threw elsewhere and when the next pitching appearance is planned.
2. Before throwing: warm up without tiring out
Use this sequence on a scheduled throwing day:
- Move the whole body. Walk briskly or jog easily, then add controlled side shuffles.
- Move through comfortable ranges. Try arm circles, trunk turns and walking lunges. Start small; do not force the shoulder backward to imitate a pitching position.
- Begin easy catch. Choose a distance that allows relaxed throws without heaving or straining.
- Build gradually. Increase distance or effort in small steps, rather than jumping directly to hard throws. Count this preparation as part of the day’s throwing workload.
Pitch Smart recommends warming up properly before pitching. The sequence above is a practical coaching template, not a fixed number of throws for every arm. Use the full baseball warm-up routine for more setup detail.
Checkpoint: Throws should feel comfortable and look unforced. Pain or a reported heavy, tired arm is a reason to stop—not a reason to throw harder until it loosens up.
3. Twice weekly: a small strength block
Have a qualified coach experienced in youth strength training check technique and resistance before starting. Begin with 5–10 minutes of dynamic warm-up: easy whole-body movement followed by controlled arm circles, trunk turns and lunges.
For a beginner, this example starts with one set of eight controlled repetitions per side, twice weekly on nonconsecutive days. That falls within the NSCA’s general youth strength-training guidance of 1–3 sets of 6–15 repetitions and 2–3 sessions weekly. It is a starting template to adjust with supervision, not a proven baseball injury-prevention protocol. NSCA youth resistance-training position statement
Use a light resistance band and a secure anchor intended for band exercise. Inspect the band for damage and keep its recoil path away from faces.
| Exercise | Setup and action | Useful checkpoint |
|---|---|---|
| Standing band row | Face the anchor. Keep the working elbow near your side, pull it slowly backward, then return slowly. | No shrugging or leaning backward to finish the pull. |
| Band external rotation | Stand side-on to the anchor, working arm farther away. Bend the elbow about 90 degrees and keep it near your side. Rotate the forearm outward, then return slowly. | The elbow stays beside the body; the trunk does not turn. |
| Light dumbbell curl | Stand tall with the elbow near your side. Curl slowly, pause briefly, then lower under control. | No swinging the weight or bending backward. |
These movements also appear in the AAOS shoulder conditioning program. That program addresses rehabilitation under a doctor’s supervision; its exercise doses are not the youth template above. AAOS advises pain-free exercise and contacting a doctor or physical therapist if exercise causes pain.
Finish while repetitions still look clean. Once the movements are consistently easy and comfortable during and after sessions, discuss adding repetitions before increasing resistance. Do not progress strength work and hard throwing simultaneously just to keep a calendar moving.
Arm care should also sit inside whole-body training. Use a supervised baseball workout plan for legs, trunk control and general upper-body strength rather than endlessly adding shoulder exercises.
4. After throwing and between sessions
After practice, record the workload and how the arm felt. Do not automatically add a hard band circuit or extra throws because they are labeled “recovery.” Keep regular meals, hydration and sleep part of the plan; leave room for actual rest.
On pitching-rest days, do not substitute a hard bullpen or maximum-effort long toss. If the player is fatigued, ASMI recommends rest from pitching and other throwing. Observable warning signs include falling accuracy or velocity, a dropped elbow and longer pauses between pitches. These changes are prompts to check and stop, not diagnoses. ASMI adolescent pitching guidance
Shoulder or elbow pain means stop pitching and seek evaluation from a sports-medicine physician before resuming. This is also part of ASMI’s adolescent pitching guidance. Pain during an exercise means stop that exercise and ask a clinician—not push through it.
Build the annual break into the schedule too. Pitch Smart recommends at least four months off throwing each year for ages 9–14, including two to three continuous months. Use that period for other sports and appropriate conditioning, not a renamed throwing program. Ages 9–12 guidance; ages 13–14 guidance
A simple log entry is enough: date, game pitches, other throwing and effort, strength work, arm symptoms, next eligible pitching day. Review it before adding the next session.