
A Simple Arm Care Routine for Youth and Amateur Pitchers
Build a practical pitcher arm care routine with warm-up steps, light strength work, recovery checks and age-based workload limits.
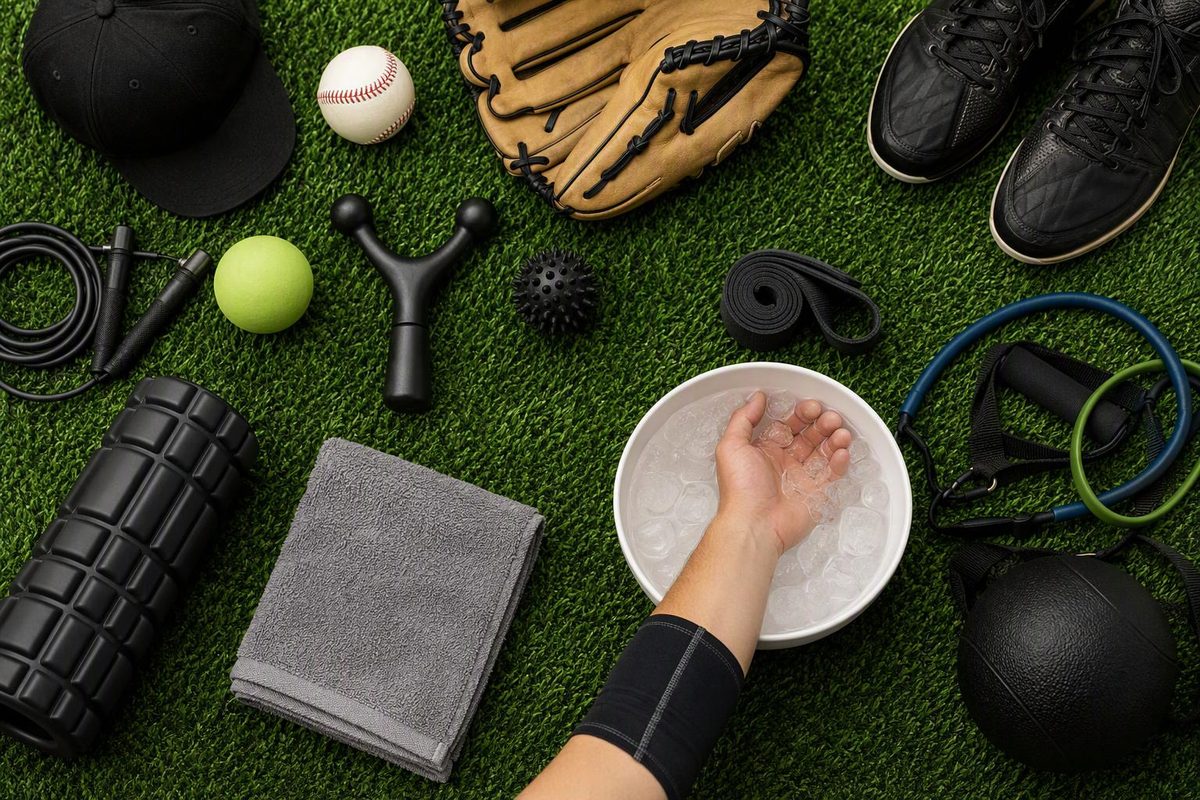
A useful arm care routine for pitchers includes a gradual warm-up, manageable throwing, regular strength work and real recovery. Band exercises are only one part. They do not give a tired pitcher permission to keep throwing: sports-medicine guidance identifies excessive competitive pitching and pitching while fatigued as major injury concerns. ASMI’s position statement explains those links.
This routine is a starting framework for healthy youth and high-school pitchers, roughly ages 9–18, with adult supervision. It is not a rehabilitation or return-to-throwing plan.
Before throwing: check, move, then build up
1. Check today’s workload and arm comfort
Before picking up a ball, answer three questions:
- Is today allowed under your pitch-count and rest schedule?
- Is there shoulder or elbow pain, unusual stiffness or lingering soreness?
- Does the arm feel unusually tired or heavy?
Tell the coach about symptoms before practice; do not use warm-up throws to push through them. ASMI recommends resting from pitching and other throwing when an adolescent pitcher complains of fatigue or looks fatigued. Shoulder or elbow pain means discontinuing pitching until a sports-medicine physician evaluates it. See ASMI’s adolescent recommendations.
2. Warm up the whole body
Use this simple starting sequence, adjusting the time to conditions rather than rushing to finish:
| Step | Action | Checkpoint |
|---|---|---|
| General movement | Walk briskly or jog easily for about 5 minutes | You feel warmer, not tired |
| Moving mobility | Do 5 controlled reps each of walking knee hugs, short lunges and gentle standing trunk turns | Movement stays balanced and comfortable |
| Arm preparation | Do 5–10 small-to-larger arm circles, then gently bend and straighten the elbows and move the wrists | No pinching, pain or forced range |
Pitch Smart recommends warming up before pitching. AAOS also recommends 5–10 minutes of low-impact activity before shoulder conditioning. The sequence above is a practical example, not a tested injury-prevention protocol.
3. Progress into catch play
Start at a distance where easy throws reach your partner comfortably. Make a short block of relaxed throws, then gradually increase distance or effort—not both at once. Move toward game-like throwing only when your rhythm and arm comfort remain normal.
Checkpoint: You can reach the target without straining, rushing or changing your delivery. If not, do not solve the problem by throwing harder. Use the full baseball warm-up progression for a more detailed sequence.
During throwing: respond to fatigue
Have the coach watch for throws losing their usual accuracy or speed, a dropped elbow, a more upright delivery or longer pauses between pitches. These are examples of fatigue signs in ASMI’s guidance, not a diagnosis from one bad throw. Check in promptly when something changes. If the pitcher reports fatigue or looks fatigued, stop pitching and other throwing rather than waiting for more poor throws.
Do not turn the final throws into a velocity contest. End the planned session rather than adding another bullpen because the arm still feels good.
Between outings: a small strength block
Schedule strength work with the coach so it fits around pitching rather than exhausting the arm immediately before an outing. Start with two nonconsecutive sessions a week, alongside whole-body training. NSCA’s youth resistance-training statement recommends two to three nonconsecutive training days, light starting loads and qualified instruction.
For a healthy beginner, the following is a conservative technique-practice example: one set of 8 controlled repetitions per side, using very light resistance. A qualified strength coach should check technique and adapt the dose to age and experience. The goal is controlled movement, not a burn. Warm up before this block, too.
Light band row
- Secure an undamaged band to a stable anchor around waist height; check that it cannot slip.
- Stand tall with the working elbow bent and close to your side.
- Slowly pull the elbow backward, then return under control.
- Checkpoint: Your shoulder does not shrug and your trunk does not rock.
Band external rotation
“External rotation” here means turning the forearm outward while the upper arm stays beside the body.
- Stand side-on to a secure band anchor, with the working arm farther from it.
- Bend that elbow about 90 degrees and keep it close to your side.
- Rotate the forearm outward through a comfortable range, then return slowly.
- Checkpoint: The elbow stays beside you; you do not twist your body to stretch the band farther.
These movements appear in AAOS’s shoulder-conditioning program, which is written for supervised conditioning after injury or surgery and later maintenance. The reduced dose above is a beginner example, not AAOS’s rehabilitation prescription or proof that it prevents pitching injuries. Stop any exercise that hurts.
Repeat the same light dose until form is consistent and it does not leave lingering soreness. Then have the supervising strength coach decide whether to add repetitions or resistance. For legs, trunk and general upper-body work, use the baseball workout plan.
After throwing: record and recover
Walk briefly, drink, eat your normal meal or snack, and record the session. Keep one shared log across teams:
- Game pitches and required pitching rest.
- Bullpen, catch-play and other throwing volume, recorded separately.
- Effort, fatigue and any symptoms during or afterward.
Game pitch counts determine Pitch Smart’s published pitching-rest recommendations; practice throws still deserve a place in workload planning. A rest-table entry is not clearance to throw through fatigue or pain. Do not treat a change of teams as a fresh start.
As of October 2026, MLB/USA Baseball Pitch Smart lists daily game-pitch maximums of 75 for ages 9–10, 85 for 11–12, 95 for 13–16 and 105 for 17–18. These are ceilings, not targets. Required rest also varies by age and pitches thrown: for example, 51–65 game pitches at ages 9–14 calls for three days of pitching rest. Follow your league’s rules too, including stricter limits.
Recovery also belongs on the annual calendar. Pitch Smart recommends:
- Ages 9–14: At least four months off throwing each year, including a continuous two-to-three-month stretch. See the guidance for ages 9–12 and 13–14.
- Ages 15–18: At least four months off competitive pitching each year, including at least two to three continuous months off all overhead throwing. See the high-school-age guidance.
Plan that break before filling the year with camps and tournaments; use the age-based offseason throwing-break guide to build the longer-term schedule.