
Curveball Grip and Release: A Responsible Learning Progression
Learn a basic curveball grip, release cues and a supervised progression that keeps age, command, workload and arm comfort first.
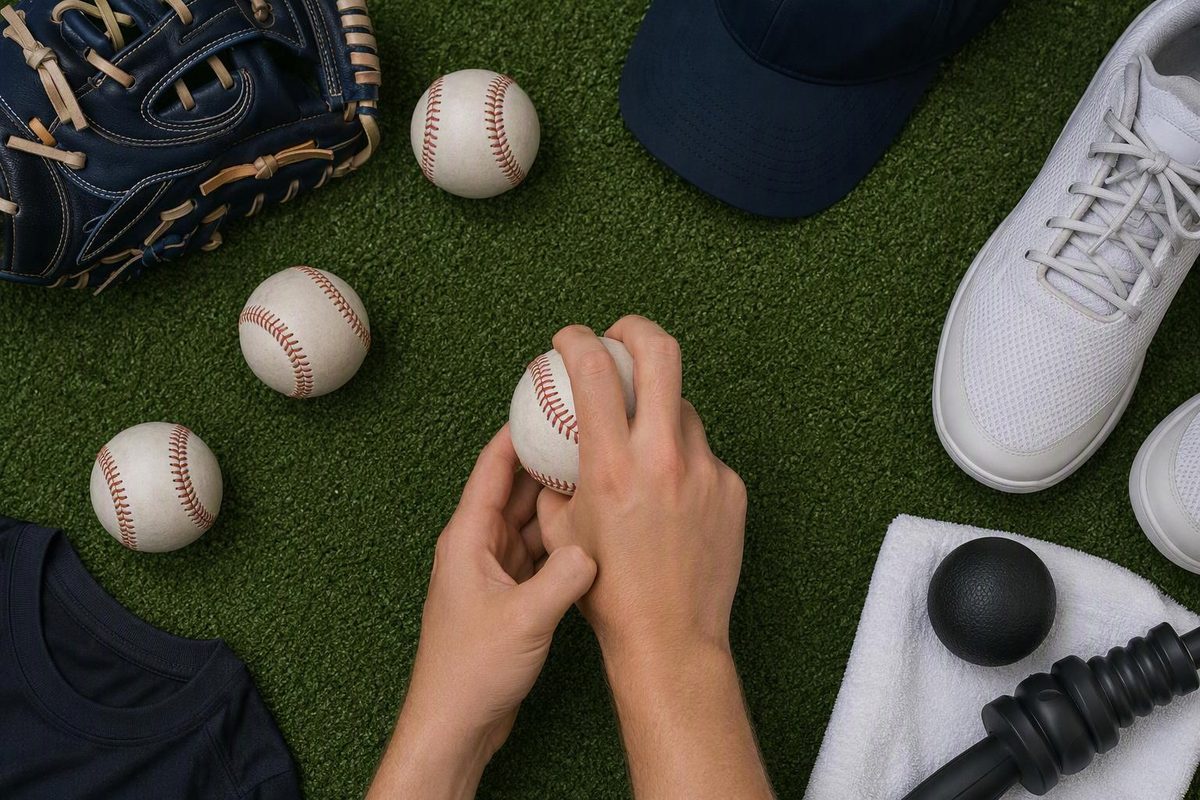
A curveball is a slower breaking pitch that usually moves down, often with some glove-side break. Compared with a slider, it generally has more overall movement and less velocity. Its shape may range from a mostly vertical “12–6” break to a wider, sweeping curve (MLB’s curveball definition).
For a developing pitcher, the goal is not the biggest possible break. Build a repeatable grip, keep a fastball-like delivery and learn to throw the pitch near a target without forcing the wrist or changing the natural arm slot.
Decide whether it is time to add one
This progression is for pitchers age 13 and older working with a coach or another knowledgeable adult. MLB and USA Baseball’s Pitch Smart guidance tells pitchers ages 9–12 to avoid pitches other than fastballs and changeups. For ages 13–14, it says breaking pitches can be introduced after the pitcher develops a consistent fastball and changeup (Pitch Smart guidance for ages 9–12; guidance for ages 13–14).
Age alone does not make a pitcher ready. Before adding a curveball, the pitcher should be able to:
- Throw a four-seam fastball with a repeatable grip and reasonable command.
- Throw a changeup without obviously slowing the delivery.
- Complete normal throwing sessions without elbow or shoulder pain.
- Follow the pitch-count and rest rules for every team on which they play.
A 2015 systematic review found that limited biomechanical and most epidemiological evidence available through 2012 did not show greater injury risk from curveballs than fastballs. That does not establish that curveballs are risk-free, and it does not override age, fatigue or workload guidance (systematic review on PubMed).
Set a basic curveball grip
Start with one grip rather than cycling through several professional variations.
- Find a long seam. Place the middle finger along it so the fingertip has a clear seam edge to work against.
- Set the index finger beside it. Rest it on the leather or lightly against the middle finger.
- Place the thumb underneath. Put it on the opposite side of the ball, near or on a seam, so the ball feels balanced.
- Let the other fingers stabilize the ball. Rest the ring finger lightly against the side and keep the pinky relaxed.
- Use comfortable pressure. The ball should feel secure, but squeezing it should not tense the hand or forearm.
There is no single seam orientation that fits every hand. A standard curve commonly uses the middle finger for seam leverage, while knuckle-curve and index-finger-off variations also exist (curveball grip examples from Driveline). Begin with the standard grip and change only one detail at a time if the pitcher cannot produce a consistent release.
Grip checkpoint: Hold the ball at eye level. The middle finger should clearly feel a seam, while the hand and forearm remain relaxed.
Keep a fastball-like delivery
Use the same balanced setup, direction toward the plate and overall intent as the fastball. Do not announce the pitch by shortening the stride, raising the glove differently or visibly slowing the arm.
At release:
- Keep the hand moving through the target rather than steering the ball.
- Let the middle finger work over the front of the ball to help create forward spin.
- Finish the throw instead of stopping the arm immediately after release.
- Do not force a sharp wrist twist to chase extra movement.
Topspin contributes to downward break, while sidespin adds lateral movement (overview of pitch movement). A higher arm slot often corresponds with a more vertical curve, while a lower slot commonly produces more horizontal break. Keep the pitcher’s natural slot instead of manipulating it to copy somebody else’s shape.
Release checkpoint: From behind the catcher, look for repeatable spin and a ball that starts near the intended line before breaking. A loose or inconsistent wobble is a reason to check the grip and release—not to throw harder.
Use a three-stage practice progression
Keep these sessions supervised and brief. A league’s official pitch count may cover only pitches thrown to batters in games, so also keep a personal throwing log that records bullpen and practice work. Do not treat uncounted throws as free work.
1. Learn the spin during catch play
After a complete baseball warm-up, begin with ordinary catch. From a comfortable distance and controlled effort, mix in a small number of curveball grips. Focus on repeatable spin and a relaxed release.
If the pitcher has to jerk the wrist, change the arm path or slow the arm dramatically to make the ball move, stop and reset the grip.
2. Add a target on flat ground
Move to the pitcher’s normal catch distance. Throw mostly fastballs and changeups, inserting an occasional curveball. Aim first at a broad target such as the partner’s chest or glove-side half rather than trying to clip a corner.
Use a simple checkpoint: can three of five curves start on the intended line and finish within a catcher-sized area? This is a practice standard, not a medical or competition threshold. If the answer is no, shorten the distance or lower the effort instead of adding repetitions.
3. Transfer the pitch to the mound
Move to a short, supervised bullpen. Alternate fastballs and curveballs so the pitcher learns to preserve delivery timing. First practice throwing the curveball in the strike zone. Only after that becomes repeatable should the pitcher work on starting it near the lower edge and finishing below the zone.
Do not take the pitch into a game if it requires obvious deceleration, causes discomfort or disrupts command of the other pitches. One sharp curve surrounded by several noncompetitive ones is not game-ready.
Respect workload and stop signs
A curveball does not receive a separate pitch-count allowance. In a game, it is part of the pitcher’s total. Follow the rules for the player’s league and age group, including required rest.
As published and checked in September 2026, Little League’s regular-season daily game maximums are 75 pitches for ages 9–10, 85 for ages 11–12 and 95 for ages 13–16. Required rest rises with the game pitch total and differs for pitchers ages 14 and under versus ages 15–16 (Little League pitching rules). Other organizations may use different limits.
Stop throwing for elbow or shoulder pain. For a young player, elbow swelling, a pop, numbness or tingling, restricted motion, locking, or elbow pain with lost velocity are also reasons to stop. The American Academy of Orthopaedic Surgeons warns against continuing to throw with these symptoms; persistent or recurring symptoms need evaluation by a qualified medical professional.
A useful curveball is repeatable, resembles the fastball early and can be thrown near a target. More break is not automatically better, and it is never a reason to keep throwing after command, mechanics or comfort deteriorate.