
4 Catch-Play Drills With Clear Coaching Checkpoints
Four catch-play drills for youth pitchers, with simple cues, accuracy checks and a short session plan that accounts for throwing workload.
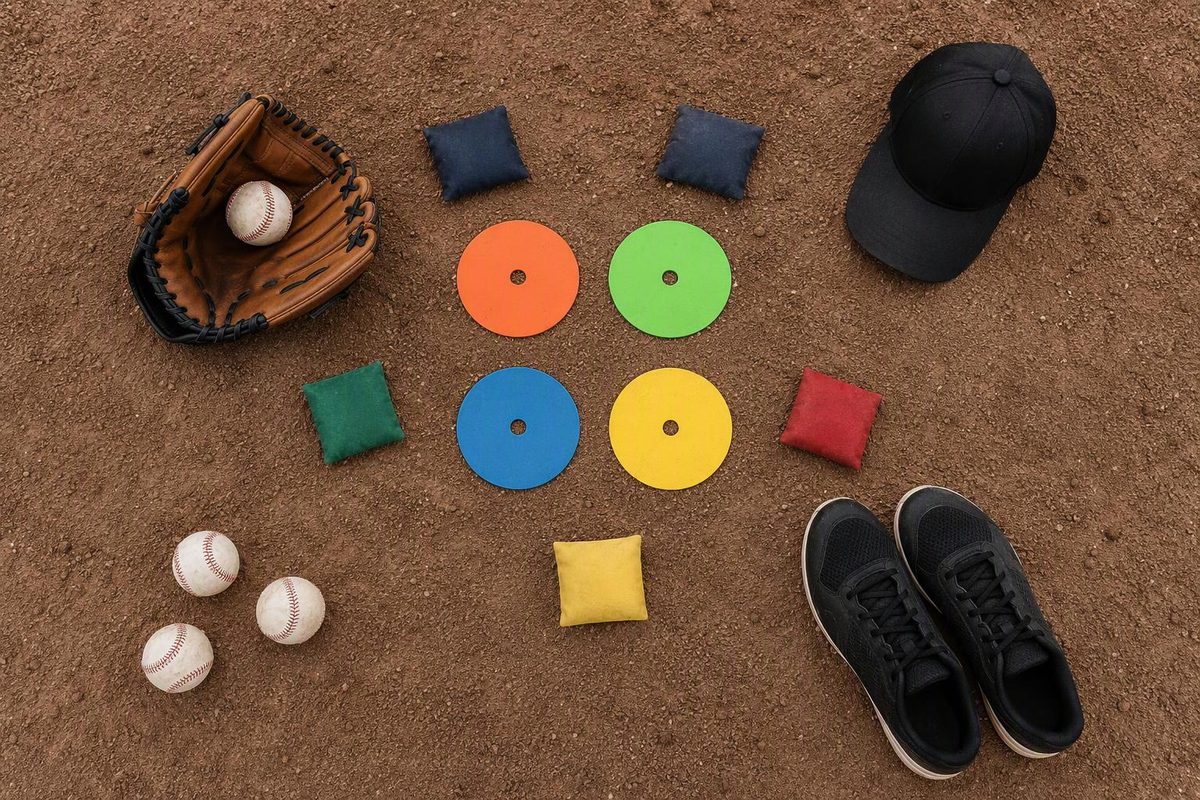
Give each throw a task: find the grip, step toward the receiver, connect footwork to the throw, or hit a chosen target. These baseball throwing drills are a catch-play menu for youth pitchers around ages 9–14 and beginners working with a coach—not maximum-effort velocity training or a pitching-delivery lesson.
You need a baseball, gloves, a partner and a clear throwing lane. A throwing net is useful for target work but not essential. Choose two or three drills that address what you see, rather than running every drill at every practice. For pitching-specific command and delivery work, use our pitcher drill menu.
Before you start: warm-up and workload
Use these drills within a planned throwing session, not as extra work after a game or bullpen. Warm up with whole-body movement, then easy catch, gradually adjusting distance and effort. See our baseball warm-up routine for the full sequence.
MLB’s Pitch Smart guidance for ages 9–12 and ages 13–14, checked October 2026, calls for proper warm-ups, game pitch-count limits, required pitching rest and monitoring fatigue. Those game limits are not a drill-throw allowance. Keep a separate practice-throw log, including warm-ups and work with other teams or coaches, so the adults planning sessions can account for that work. Both age groups are also advised to take at least four months off throwing annually, with two to three months continuous.
Stop throwing for shoulder or elbow pain, popping or discomfort; tell a parent or coach and seek medical advice rather than trying a different drill. AAP patient guidance on Little League elbow emphasizes avoiding throwing through pain and accounting for extra throwing outside practice. This is not a rehabilitation or return-from-injury program.
1. Glove-to-grip reset
Purpose: Practice finding a throwing grip without adding overhand throws.
Setup: Stand with the ball in your glove at chest height.
Action: Take the ball out, find a four-seam grip, show it to your coach, then put it back in the glove. Start with five unhurried repetitions. Place the index and middle fingers across the horseshoe-shaped seams, with the thumb underneath. If two fingers do not give comfortable control, ask the coach to check a three-finger option; Little League’s coach-pitch teaching program teaches both two- and three-finger grips.
Cue: “Find the seams, then look up.”
Checkpoint: Can the player settle into the grip without repeatedly turning the ball or squeezing it tightly? Do not turn this into a speed contest. For finger placement, use our four-seam grip guide.
2. Step-and-throw catch
Purpose: Give direction and a complete throwing motion one simple focus.
Setup: After easy catch, stand at a comfortable partner distance. About 20–30 feet is a possible starting point, not a requirement; move closer if needed. The receiver presents a chest-high glove target.
Action: Start slightly side-on, with the glove-side shoulder generally toward the partner. Step toward the partner with the glove-side foot, throw at easy effort and let the arm finish naturally. Reset fully before the next repetition. Try five throws per player.
Cue: “Step toward the glove.”
Checkpoint: Watch whether the step travels toward the receiver and whether the throw is catchable without a large reach. Avoid prescribing an exact elbow angle or forcing a high arm slot. For a fuller explanation, use our ground-up throwing mechanics guide.
3. Catch, shuffle, throw
Purpose: Connect receiving the ball to footwork and the next throw.
Setup: Use the same partner distance. Leave enough space for one short shuffle without colliding with another pair.
Action: Catch the ball, make a small shuffle toward the partner, then step and throw. Keep the movement continuous rather than racing through it. Try five throws per player. This adapts the catch–shuffle–throw emphasis in Coaching Youth Baseball’s throwing relay, without making it a race.
Cue: “Catch, move, send.”
Checkpoint: Does the player move toward the target without tangling their feet or throwing before they are ready? If the shuffle creates confusion, return to step-and-throw catch. This is general throwing footwork, not a pitching delivery.
4. Five-throw target round
Purpose: Make accuracy visible without asking for more speed.
Setup: Use a partner’s glove or a large marked target on a throwing net. Keep people out of the area behind the target. Start at a distance where an easy overhand throw reaches it comfortably.
Action: Make five throws at the same target. Record how many reach the marked area—or how many the partner catches without moving their feet. The receiver should still move whenever needed to catch a miss; the score is feedback, not an instruction to stay planted. Note misses as high, low, left or right.
Cue: “See the target; make your normal throw.”
Checkpoint: Look for a repeated miss rather than reacting to every ball. If accuracy falls apart, shorten the distance instead of throwing harder. Little League’s throwing accuracy drill likewise recommends adjusting distance to experience and retaining a natural motion rather than trying to steer the ball.
A short session—and when to progress
After warming up, one example is five grip resets, five step-and-throw reps and five shuffle throws per player. Add a five-throw target round only if it fits the planned workload. Count all throws, including any additional returns between drills and warm-up catch.
These repetitions are practice examples, not a medically established safe dose or a daily prescription. The coach should reduce or omit work based on the player’s schedule and recovery.
At the next planned session, repeat the same task before making it harder. When movement stays comfortable and throws are consistently catchable, change just one thing: a slightly smaller target, a modest distance increase, or a new target location. Do not increase distance, effort and repetitions together.
End with a useful note: the target hit count, the most common miss and the cue that helped. Stop sooner if the arm feels tired or the movement deteriorates—there is no need to finish a set for the sake of the number.