
Build a Pitching Stance You Can Repeat
Learn where to place your feet, how to set your posture, and how to check a baseball pitching stance without adding extra throwing workload.
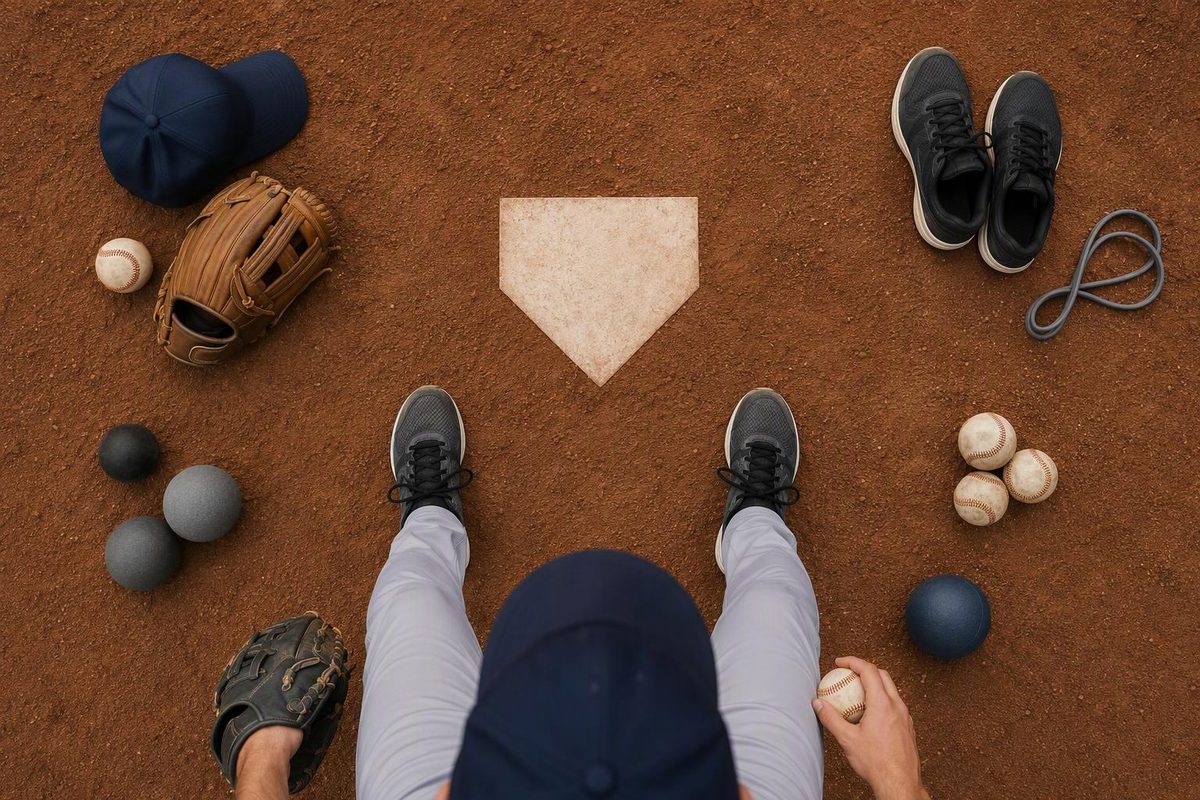
Your pitching stance is the position you take before starting your delivery. For a developing baseball pitcher, start with comfortable foot spacing, relaxed knees and hands, and a clear view of the catcher’s target. Then check whether you can move into the pitch without an unplanned shuffle or sideways wobble.
Treat the stance as a starting point—not a pose to hold throughout the delivery. The goal is a setup you can repeat, not one that looks exactly like a major-league pitcher’s.
Place your feet for the delivery you use
The pivot foot is your throwing-side foot: the right foot for a right-handed pitcher and the left foot for a left-handed pitcher. The other foot becomes your stride foot.
Set position, commonly called the stretch
For a simple beginner setup:
- Place your pivot foot parallel to and against the front of the pitching rubber.
- Place your stride foot in front of the rubber, toward home plate, with comfortable spacing around shoulder width.
- Turn sideways so your glove-side shoulder points generally toward the catcher.
- Bring the ball and glove together in front of your body.
MLB’s set-position explanation describes the sideways orientation and joined hands; the White Rock South Surrey Baseball coaching guide describes the parallel pivot-foot placement. Shoulder-width spacing is a coaching starting point, not a required measurement; coach Dan Gazaway’s setup guidance uses it as a baseline.
Checkpoint: Once you are set, can you begin lifting your stride foot without first moving either foot to a new spot? If not, reset and try a small spacing adjustment.
Before using this setup in games, check your division’s stop rule. In Little League Major Baseball and below, pitchers do not have to make a complete, discernible stop before delivering, even with runners aboard. Other divisions and rule sets differ. See Little League’s stop-rule explanation and our guide to pitching from the stretch.
Windup position
Start facing the catcher more directly, with your pivot foot touching the rubber and your feet comfortably separated. In a conventional windup, a small step back or to the side with the free foot allows you to turn the pivot foot parallel to the rubber before lifting the stride leg. That sequence follows MLB’s windup description.
Keep that first step manageable rather than reaching far behind you. The White Rock South Surrey Baseball coaching guide recommends a short initial step and prioritizes comfort and strike throwing when choosing where to stand on the rubber.
If you are deciding which delivery to learn first, see windup vs. stretch.
Set your posture without getting stiff
Use three simple cues:
- Soft knees: Allow a slight bend rather than locking your legs or dropping into a deep squat.
- Comfortable hands: Keep the joined hands near the middle of your body at a height you can reproduce, rather than reaching far outward.
- Eyes on the target: Look toward the catcher without forcing your neck into an uncomfortable position.
Relaxed posture and centered hands are common elements of the coaching guidance on balance and setup. You do not need to force everyone into the same glove height or exact foot angle.
Checkpoint: If you brace so hard that starting the delivery feels awkward, ease the tension before changing your mechanics.
Practice the setup before adding throws
Try this brief rehearsal with a coach or adult watching:
- On firm, level ground, take your chosen stance without a ball.
- Begin the delivery slowly. For the windup, include the short step and pivot first. Then lift the stride foot and begin moving toward an imaginary catcher. Do not make a throwing motion.
- Reset completely and repeat three to five times.
- Choose just one cue for the next round—for example, “same foot spacing.”
Watch for unplanned foot adjustments, sideways sway or hands that start in a different place each time. Change one feature, then check again. Do not turn the rehearsal into a long one-legged balance hold; you are checking the transition into movement.
When you return to throwing, use the setup during an already-planned, warmed-up session rather than adding pitches to test it. Youth pitchers still need age-based pitch-count and rest limits.
If the pitcher is fatigued, stop throwing rather than trying to fix the stance through more repetitions. Shoulder or elbow pain calls for stopping pitching and evaluation by a sports medicine physician—not another foot-position adjustment, as ASMI advises for adolescent pitchers.